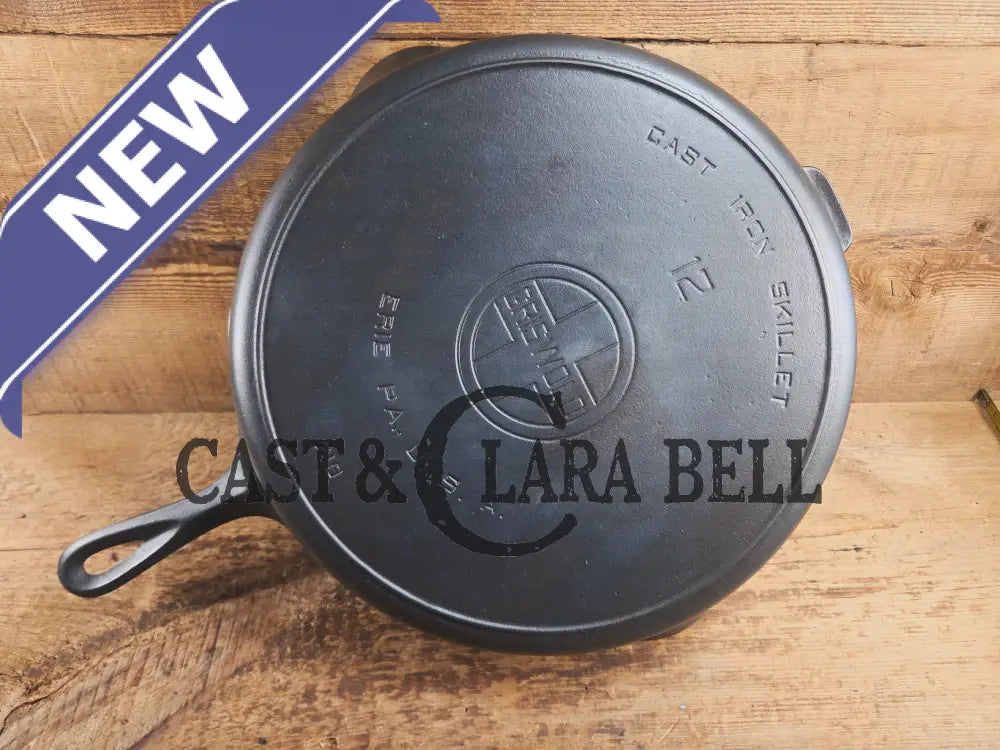
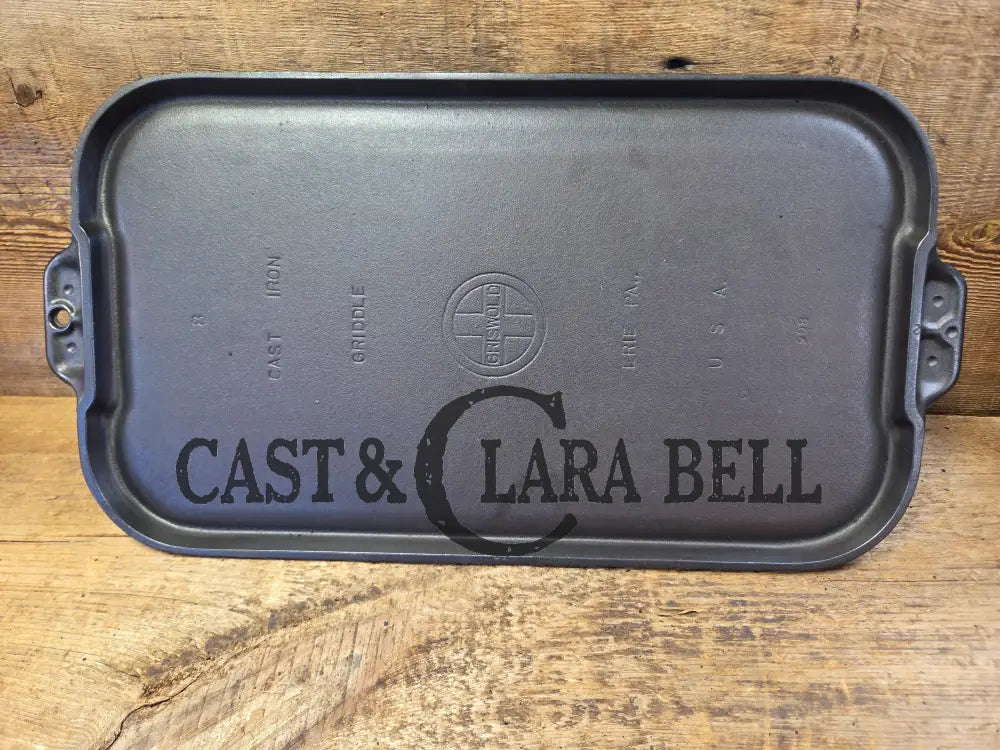
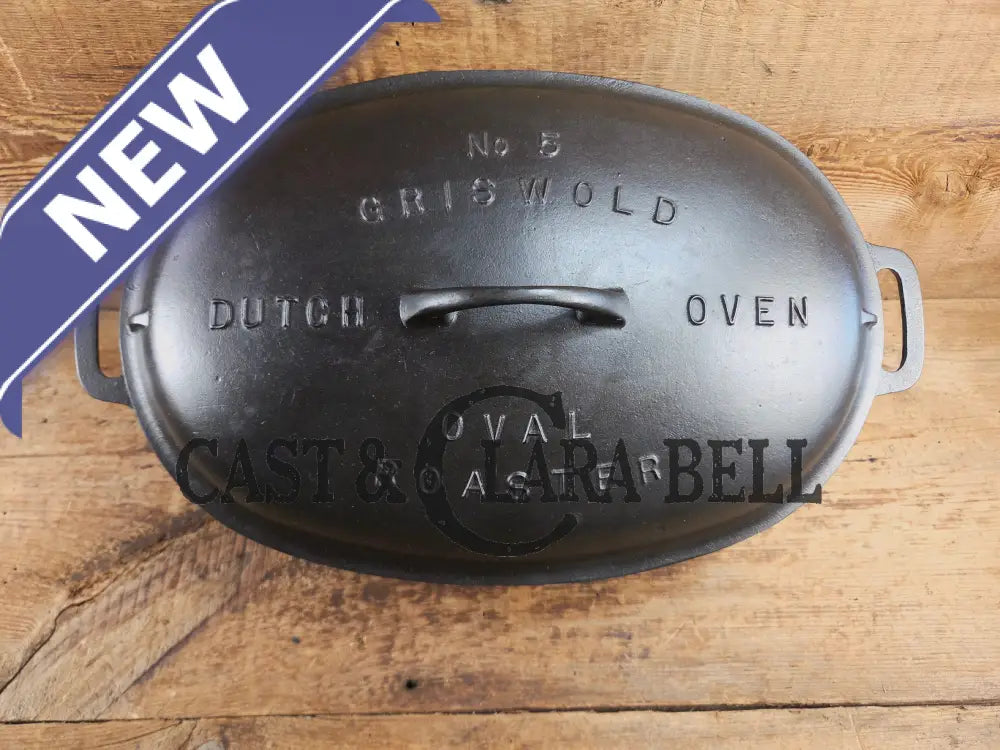
The Restoration Process: How We Bring Cast Iron Back to Life
The other day, a close friend asked if I could restore a piece for them and it reminded me that I’ve been meaning to blog about our cast iron restoration methods. It’s a question we get asked all the time. Many people have inherited or found a vintage skillet or Dutch oven, but aren’t sure what to do with all the grime, rust, or buildup that’s come with it.
They want to preserve the history, but they don’t want to keep the mess. Sound familiar? If you're new to cast iron care or trying to restore a piece that’s seen better days, here’s a quick overview of how we break down the process into three main stages: Stripping, Seasoning, and Long-Term Care.
1. Stripping
Despite how harsh it sounds, “stripping” is just the process of removing old layers of seasoning, grime, and sometimes literal inches of buildup. Let’s be honest our predecessors were far more focused on cooking than cleaning. Some of the pieces we receive look like they’ve never seen soap. (Yes, I said it I’m on Team Soap.)
The two methods I recommend are electrolysis and a lye bath. Both are natural, proven ways to strip cast iron safely. But make no mistake lye can burn and electricity can shock. Do your research, wear protective gear, and don’t rush the process. There are plenty of great videos on YouTube to guide you. Just remember you’re combining water and electricity, so proceed with care.
2. Seasoning
One of the biggest misconceptions is that seasoning means “oiling” your pan. That’s only part of it and not even the most important part. Seasoning cast iron is about polymerization: applying a very thin layer of oil and heating it just beyond its smoke point, so the oil bonds to the iron in a hard, rust-resistant finish.
Think of seasoning as building protection, not just shine. We season every piece three times before it ever hits the shop. But even then, things like moisture especially in lids during long cooks like stews can wear seasoning down.
I like to use what my Grandmom Clara Bell used: a blend of vegetable oils that produce a deep chocolate brown patina. It forms a solid base for future seasoning and gives the piece a rich, aged look.
3. Long-Term Cast Iron Care
Let’s be clear cast iron is durable. It can last generations. But it’s not indestructible. It can crack, pit, or scale if exposed to too much moisture or excessive heat (we’re talking 600+ degrees).
The best thing you can do? Use it often. And after each cook, follow a few simple steps to protect your investment:
- While the pan is still warm, scrub off food with chainmail, a 3M mesh ball, or a non-abrasive scrub pad.
- Yes wash with soap and water. It won’t remove seasoning. But don’t let water sit. Dry thoroughly with a towel or put it in a warm oven.
- Finish with a light wipe-down using a paper towel with a tiny amount of oil. Think polish not slather. You want a subtle sheen, not a greasy surface.
Leftover oil can become sticky or even rancid. If you're displaying your cookware on the wall (like we do), a light buff keeps it looking clean without attracting dust.
Final Thoughts
This is just a snapshot of what we've learned and continue to learn about restoring cast iron cookware. Our methods have evolved over the years, and they’ll continue to as we listen, adapt, and try new things.
If you have questions about restoring your own cast iron pieces, feel free to reach out. We’re always happy to help.
restore@castandclarabell.com
Enjoy the cook!
– C&CB


